Building & Managing Web Sites
Extra Credit Lab - Client-Side Dynamic Content
| Home | Lectures | Labs | Team Project | Resources |
Step 1 - Getting Started
Create a directory in your class child web called "Lab12" and create a
page called "Default.htm". All of the pages you create and all of the
content you import in this lab should be created/imported in this same directory.
 |
Step 2 - Create an Animated GIF (5 points) To the left are a series of images you will turn into an animated GIF. Download the zip file of these graphics, and unzip them into your C:\temp directory. Then download, unzip, and launch Microsoft GIF Animator (or some other GIF animation tool of your choice), and import the graphics by dragging and dropping them into the empty cursor (square). Arrange the graphics in the order shown to the left using the up and down keys. The "Duration" of each graphic should be set to 50, and both the "Left" and "Top" properties of the smaller number graphics should be set to 30. Use the online help to learn more about the "Undraw Method" property. Test the graphic and save it to your c:\temp directory. Then import the graphic into your child web and add it to your default.htm page described in Step 1. Microsoft GIF Animator (Zip, 147KB) [Use for evaluation purposes only--you must own MS FrontPage to use this product]
|
Step 3 - Add a Java Applet (2 points)
Go to one of the Java applet sources discussed in lecture. Download and import
the applet .class files into your child web. Using the applet documentation or example,
copy the HTML source into your default.htm page to install the applet. Preview your page
and see if the applet works.
Step 4 - Add a Flash Animation (2 points)
Create a new page called flash.htm and add a link to it on your default.htm page.
Go to the Macromedia web site and download/install the Flash viewer. Then go to the Flash demonstration page mentioned in lecture on
the Valtara.com website. View the Flash animation. Then find the file you viewed by
going to your browser cache and finding the file (C:\WINDOWS\Temporary Internet
Files\matchbox.swf). Import it into your child web, and use the HTML source listed in the
lecture to add the Flash file into the flash.htm file. Preview your page in a
browser to make sure it works.
Step 5 - Field Level Form Validation (3 points)
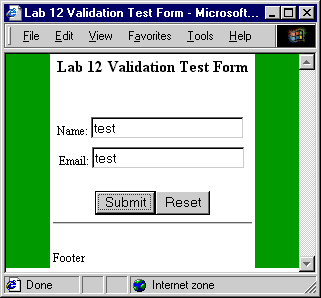
Create a page called form1.htm similar to the one below and add a link to it on
your default.htm page. Use the "EmptyAlert" Javascript code discussed in the
lecture slides to do field level validation on the EMAIL field. The name field should be
named YOURNAME. Test your form.

Step 6 - Form Level Field Validation (3 points)
Create a page called form2.htm similar to the one above and add a link to it on your
default.htm page. This page should use form level validation on both the name and
email fields using the "FormCheck()" Javascript code discussed in class. Also
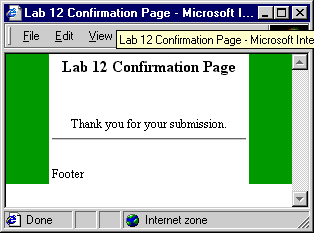
create a page called output.asp (see below) to post your results to. Your form element
should look like below.
<form method="POST" action="output.asp" onSubmit="return
FormCheck(this)">

CSC 120 http://www.valtara.com/CSC120/
Copyright 1999, 2001 Valtara Digital Design